I have finished another play mat that my son ordered for his girl friend's sister who is having a baby girl. They loved the last play set that I made with the fox theme, so they ordered one with a forest theme. Two of the animals are the same as in the fox mat, but there are three new ones. I had to go through the whole refiguration of the pattern to downsize the animals for the three new ones. The other two were so easy because all of that was done before. This mat is for a girl, but they didn't want any pink. They figure she will get plenty of pink things and they wanted the animals to be in realistic colors. One of the new animals is an owl. I decided to make the background of the mat with an owl as the main theme. The back is also with the same owl print that I used on the fox themed set. I had plenty of that fleece material left to make another mat
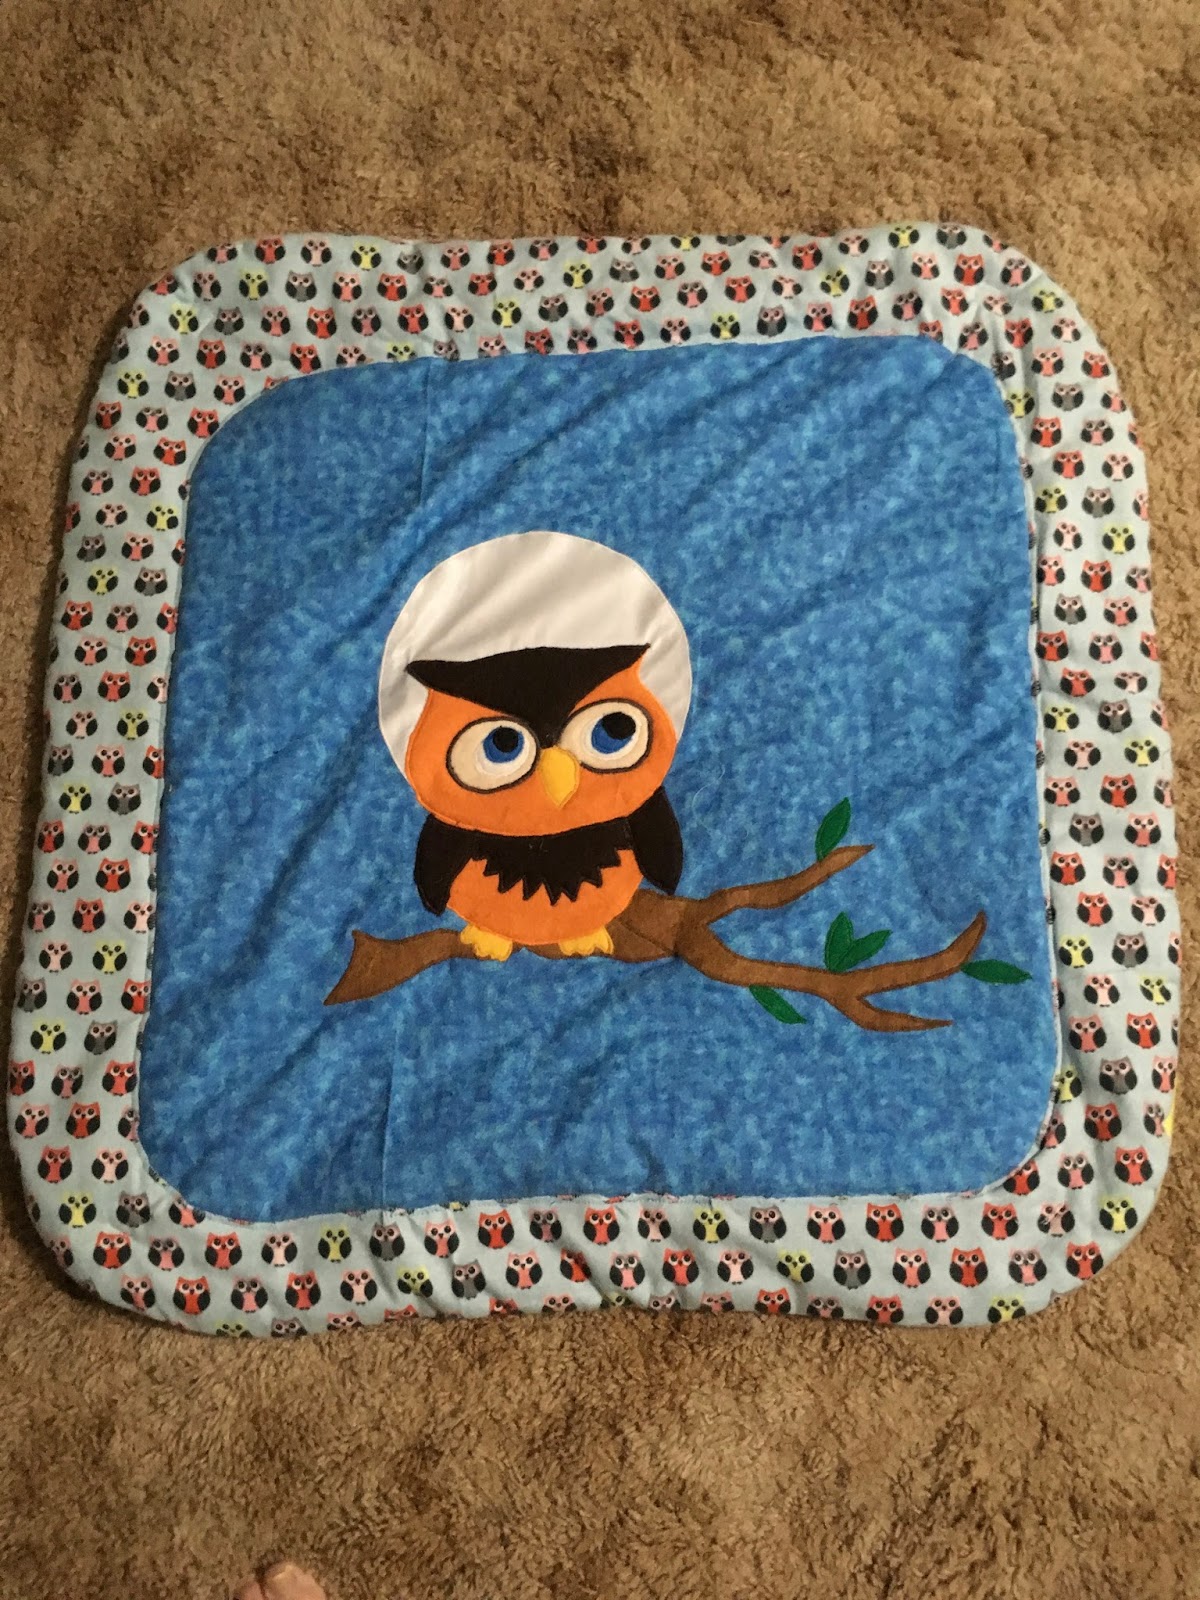
. I downloaded a picture of an owl sitting on a branch of a tree that looked easy enough to applique' onto the mat. I decided to sort of make it like a night owl, so I bought some material that sort of looks like sky. I could have gotten a navy blue to make it darker, but I thought the lighter blue would look better for a baby. They had so many shades of blue for this print, so I just chose the one that I thought looked better for a little girl and matched the owl print material that I found to use as the border. Next, I had to find some material I liked for the arches. I found lots of blue with white stars. I wanted to use that as the arches, but there were also many shades of blue for that one. It was a challenge to find the one that matched both the background color and the border color. I was about to give up and go a different route from stars as the print when I located the perfect one. With the material purchased, I went back to the owl. I enlarged it with graphing again, 1/2" to 1". To make it look more like a night owl, I put a large white moon behind the owl's head. I think it is very cute and I am happy with the creation.
 |
| This shows the mat without the arches attached. I first tried just using fabric glue to attach the eyes because they have so many layers, but after getting everything else applique'd on, they didn't look right, so I also sewed them into place. It was difficult to do. It is hard to see in the picture, but the eyes have the white, a little bit of blue, and the small round black center. I was afraid the needle might get jammed because of the amount of glue I had used to put them on, but it didn't and I really liked the way they looked once I did get them sewn around. It made them stand out even more than before. |
 |
| This is the mat with the arches and the animals attached. The arches were an experience. I wanted to make them a little taller than the ones I have made in the past, but I miscalculated how much taller they should be. They are really tall, but I turned that mistake into what I like to refer as, "a happy accident." By having taller arches, the mat can grow with the baby. While the baby is still very young, she can lay on her back and reach up to the animals who are being hung with two or three rings instead of just one. As she grows and can sit up, the extra rings can be removed so that the animals hang higher and she can still play with them, but more at her eye level. Works for me. |
 |
| This little hedgehog is one of the new characters to this set. Kay, that is buying this set, chose this animal because she thinks it is so cute. She really likes the way I made it, so I'm glad I did it, although it isn't really my favorite. Kay loves the feet. |
 |
| The little deer makes a cute animal for a forest themed play set. It is rather sweet. |
 |
| Here is the wise old owl. It took a combination of two patterns to make this one. I used the tail from another pattern, which you cannot see in the picture, because there wasn't one with this pattern. I also added a belly to this one which was also not with the pattern. |
 |
| These are the two like the ones from the other mat. |


No comments:
Post a Comment